
Last updated November 15, 2026
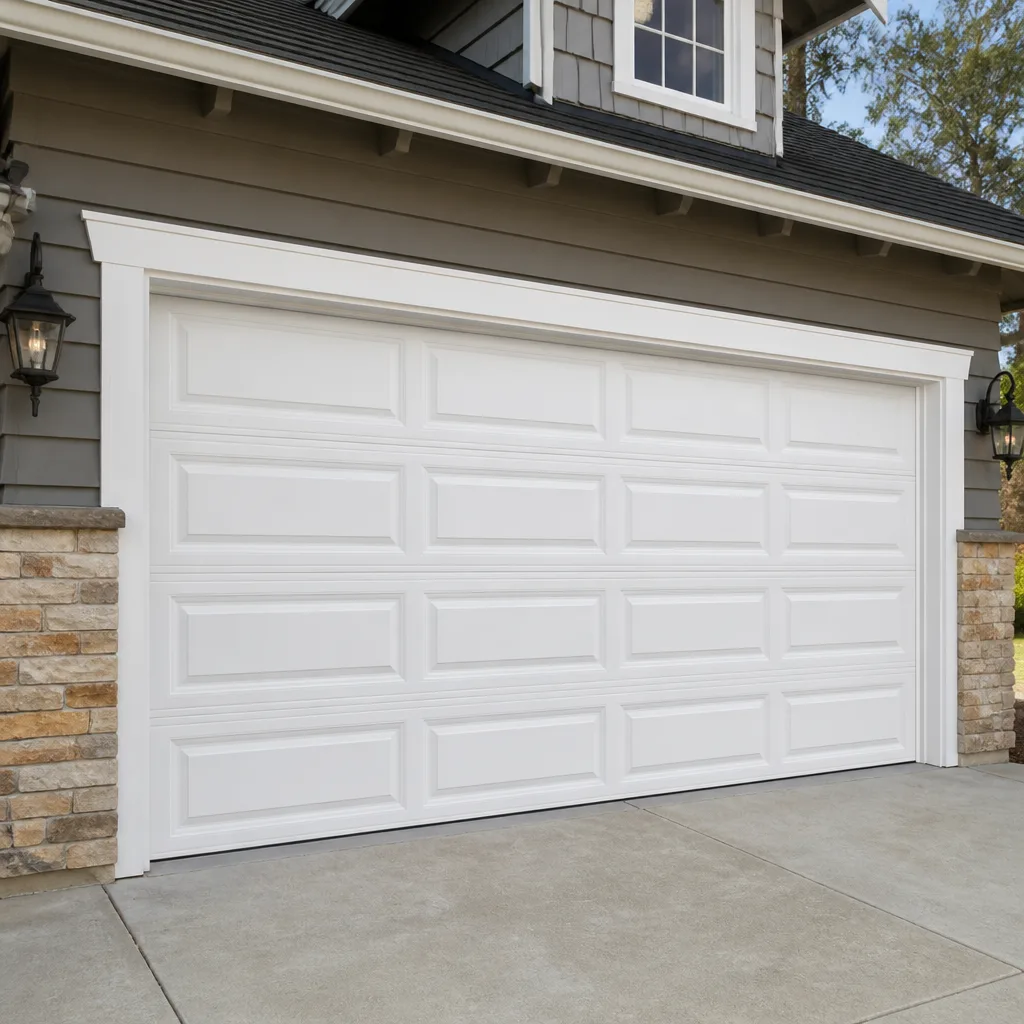 Raised-panel steel
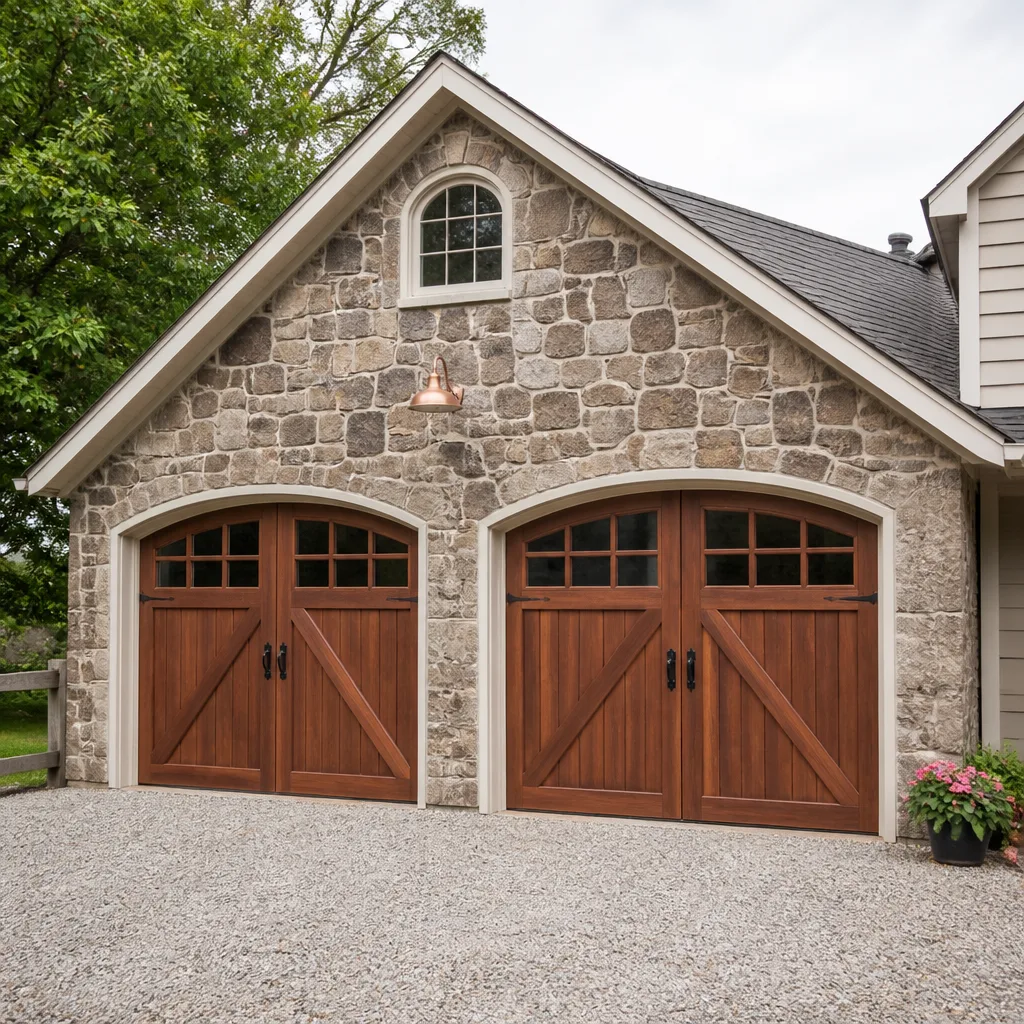 Carriage house
 Modern flush
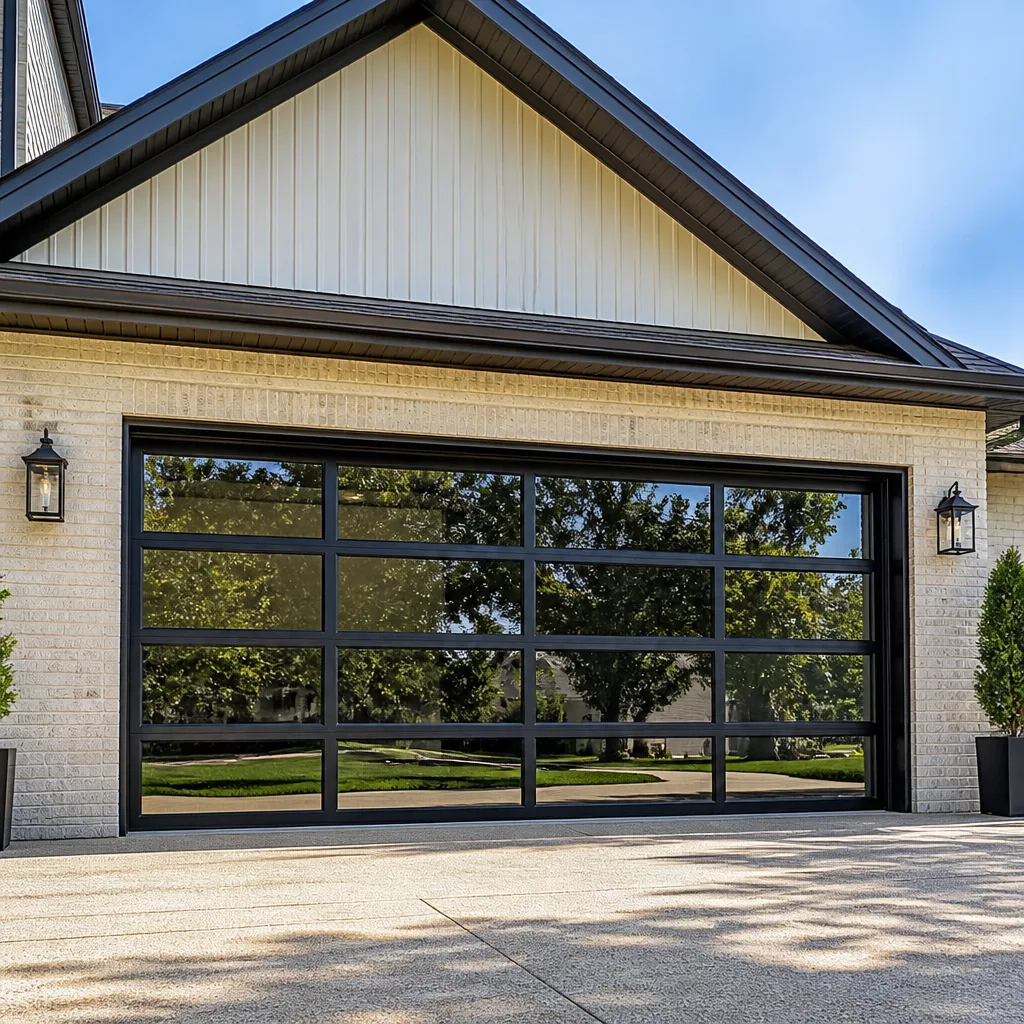 Full-view glass
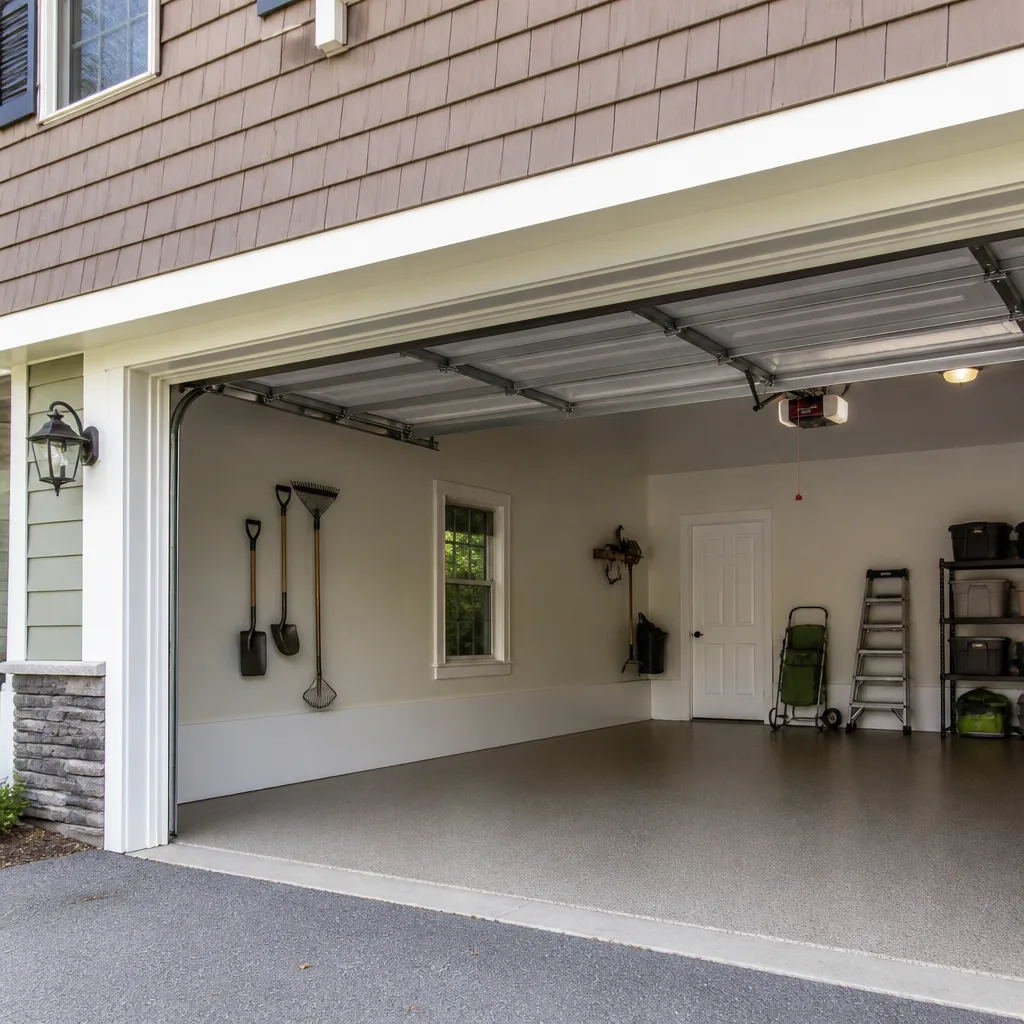 LiftMaster openers
 Chamberlain openers
Full 25-point door and opener safety check with every visit - springs, cables, rollers, tracks, and your LiftMaster or Chamberlain opener included
You get a price before we start. It does not change when the pro arrives.
Get your free estimateDIY vs Professional Garage Door: The South Bend Homeowner’s Decision Guide
Most advice about garage door repair treats DIY as a single decision: are you handy enough or not? That framing is wrong. A garage door is a system made of parts that behave very differently. Replacing a bottom weather seal is a job almost any homeowner can handle. Releasing a torsion spring is a job that stores enough energy to cause serious injury or death when it’s done wrong. Those two tasks sit on the same door, and confusing them is where people get hurt.
This guide sorts the work task by task. You’ll learn which jobs are genuinely safe to do yourself, which ones to leave to a technician, how a South Bend winter changes the math, and where a middle path lets you cut labor cost without touching the dangerous components.
Quick Answer
Lubrication, sensor alignment, remote programming, and visual inspections are safe for most homeowners to handle. Spring replacement, cable work, and track realignment are not: those involve stored mechanical energy and should be done by a trained technician. Everything else falls somewhere between, and a free written estimate will tell you which side of the line your door is on.
Styles & brands we work with
- Raised-panel steel
- Carriage house
- Modern flush
- Full-view glass
- LiftMaster openers
- Chamberlain openers
Table of Contents
- The Task-by-Task Breakdown: What’s Safe and What Isn’t
- Why Spring Work Is Different From Every Other DIY Job
- The Gap Between a Video and Your Door
- What a DIY Opener Install Really Costs in South Bend
- The Middle Path: Prep Work That Reduces Your Labor Cost
- How South Bend Winters Change What’s Practical
- Diagnosing Before You Decide
The Task-by-Task Breakdown: What’s Safe and What Isn’t
The useful question isn’t “can I fix a garage door?” It’s “can I do this specific task on this specific part?” Here’s how the work divides. Treat these as three separate zones, because that’s how they behave.
Green light: homeowner-safe tasks
- Lubricating hinges, rollers, and the torsion bar with a garage-door lubricant a couple of times a year
- Cleaning and realigning safety sensors so the door closes without reversing
- Reprogramming a remote or clearing a keypad code, including on a LiftMaster or Craftsman opener
- Replacing the bottom weather seal, which takes basic tools and no tension
- Testing the door’s balance by hand with the opener disengaged, and noting anything that seems off
- Wiping and lightly treating panels that show surface wear
Yellow light: proceed only with caution
- Replacing rollers, which is simple on some doors but tricky on older setups where hardware has seized
- Adjusting opener travel limits or force settings, which takes patience and a clear manual
- Tightening loose bolts on brackets, stopping immediately if you feel spring tension on the hardware
Red light: leave it to a trained technician
- Replacing torsion springs, or any spring under tension
- Working on lift cables, drums, or anything holding the door’s weight
- Realigning bent or jumped tracks, since the door can come down unexpectedly
- Replacing a torsion bar or the hardware connected to it
- Full-panel changes where the door has to be supported off its tracks
The dividing line isn’t difficulty. It’s whether the task involves stored energy or the door’s full weight. If the answer is yes to either, it’s a garage door repair job for someone trained on it. For tasks on the green list, doing them yourself is reasonable and saves money. For anything on the red list, the price of a technician is the price of not getting hurt.
Why Spring Work Is Different From Every Other DIY Job
Torsion springs and extension springs hold the entire weight of the door in tension. A torsion spring is wound tight to counterbalance the door, and that stored force doesn’t care whether the person touching it is skilled. Release it improperly and it can whip free with enough force to break bones. That’s not a legal disclaimer at the end of a manual. It’s how the part stores energy.
This is why spring replacement sits in a different category from the rest of home repair. A homeowner who has replaced a faucet, patched drywall, and rewired a switch is still not prepared for a torsion spring. The risk isn’t that the job won’t work. It’s that the failure mode is violent.
There’s a second issue: matching the spring to the door. Torsion springs come in different wire gauges and lengths sized to the door’s weight and height. Put in a spring that’s the wrong size and it either can’t lift the door or overstresses the opener and cables. A technician measures the door and matches the spring to it, which is why proper spring repair includes the right part, not just a part.
If your door won’t lift, has a visible gap in a spring, or makes a loud bang followed by a slack door, stop using the opener. That’s usually a broken torsion spring or a snapped extension spring, and forcing the motor to lift the door causes damage further up the system. In our experience, homeowners in South Bend who try to force a door after a spring breaks usually end up replacing the opener too, which turns a spring job into something bigger.
For the parts that sit on the safe side of that line, we’re glad to walk you through them over the phone. We answer 24/7. Fast dispatch from 7am to 7pm, Sunday through Friday.
The Gap Between a Video and Your Door
A spring replacement tutorial usually runs ten minutes. What it can’t show you is the part that decides whether the job is safe: how much tension is already on your particular spring, and whether your door is set up the way the person in the video assumed.
Three things look different in real life:
- Winding counts are door-specific. Videos show a number of turns, but that number depends on your spring’s size, the door’s height, and its weight. A talented camera can’t calculate your door’s tension for you, and guessing wrong is how people get hurt.
- Worn hardware doesn’t cooperate. On an older door, rusted set screws and seized drums don’t release the way they do on a new door in a clean shop. Force applied to a stuck part is exactly the scenario where spring energy releases unexpectedly.
- Editing hides the risk. A video can cut out the moment a spring slips or a bar jumps off a winding cone. If the person filming is experienced, you’ll never see the near-misses that define the job.
That’s the honest gap. Spring work isn’t a skill you can pick up by watching. It’s a job where the difference between competent and injured is a few degrees of tension and a properly seated winding bar. We don’t suggest homeowners attempt torsion spring work, not because we’re in the business of doing it, but because the physics doesn’t allow for a safe middle ground.
The same logic applies to cables, which are under tension and can snap when released, and to tracks, which hold the door in place while you work. A door that comes off its track mid-job can land on the person beneath it.
What a DIY Opener Install Really Costs in South Bend
Replacing a garage door opener looks like a manageable weekend project. In practice, the real cost of doing it yourself is mostly time, tools, and risk, and it’s worth sizing those before you start. The opener is a light mechanical device, but it hangs overhead, wires to a circuit, and has to be aligned with a door that moves along a track. It’s not a task to rush.
Here’s the honest side-by-side:
| What you’re comparing | DIY install | Professional install |
|---|---|---|
| Time | A full day or more for a first-timer, often stretched across two, especially in cold weather | Handled in a single visit once the unit and door are scheduled |
| Tools | Ladder, drill, socket set, tape measure, and a willingness to work overhead | No tools needed from you |
| Wiring | Mounting, running, and connecting power and safety sensors on your own | Done by trained technicians |
| Alignment risk | A slightly off opener strains cables, springs, and the door over time | Aligned and tested before we leave |
| Brand fit | You have to read the manual closely to match the opener to the door’s balance | Matched to the door you already have, including LiftMaster and Wayne Dalton systems |
The cost comparison isn’t just labor. It’s the risk that a slightly misinstalled opener damages the door’s springs or cables, which turns a job you meant to do yourself into a repair that needs a technician anyway. In our experience, that’s the most common way a DIY opener install gets more expensive than planned.
If you’re remodeling or building out a new door and opener, a free measure and written price is the cleaner starting point. There’s no same-day promise for installation, because that work gets measured, ordered, and scheduled. Get the estimate in hand before you decide.
The Middle Path: Prep Work That Reduces Your Labor Cost
You don’t have to choose between doing everything yourself and handing over the whole job. There’s a middle path: do the safe prep work, and let a technician handle the dangerous components. That’s how homeowners cut labor cost without taking on any part of the job that can hurt them.
Here’s what’s realistic:
- Clear the space. Empty the garage floor, move cars out, and give a technician clear access to the door and opener. Less setup time means a tighter estimate.
- Gather the symptoms. Write down when the problem started, whether it’s the door or the opener, and what sounds it makes. Precise details help a technician diagnose faster, which is where accurate repair starts.
- Check the easy stuff first. Confirm the opener has power, the sensors are aligned, and the remote’s battery is fresh. These are free checks that clear up a surprising share of problems.
- Read the model numbers. Find the tag on the opener and the door, and write them down. Knowing the brand and model up front means the technician can plan the right parts for a Raynor or LiftMaster system before arriving.
- Handle green-light tasks yourself. Lubrication, weather seals, and remote programming are all fine to do before or after professional repair.
What you shouldn’t do as “prep” is loosen any spring hardware, pull at a cable, or try to lift a door onto a track as setup. Those are the parts that belong to a trained technician, and they’re the parts where just starting can be the risk. Prep should make the visit easier, not put energy in your hands.
How South Bend Winters Change What’s Practical
DIY feasibility shifts with the season in South Bend, and February is the honest test case. An unheated garage in the coldest part of winter changes what’s practical and what’s safe, and it’s worth planning around.
What changes:
- Metal gets cold and unforgiving. Hardware, springs, and tracks contract, and frozen set screws are harder to break loose. A task that’s straightforward in July can turn stubborn in January, which pushes a homeowner toward force, which is exactly what’s dangerous.
- Lubricant thickens. The grease that moves freely in a warm garage may stiffen, so a door that worked fine last fall can start to bind. Be careful not to interpret a winter binding as permission to force the door.
- Cold makes overhead work harder. Working on a ladder in a cold garage with gloves on is slower and less precise, and precision is what any adjustment task needs.
- Weather seals take wear. Snow, ice, and road grit pushed into a South Bend driveway work their way into the bottom seal. Replacing that seal is still a homeowner-safe task, and a good one to knock out before the deep freeze.
Here’s the practical takeaway: the green-light tasks are mostly fine in winter, but any red-light task gets worse in the cold. A technician arrives with the right tools and the right approach regardless of the temperature, and can handle the work long before the door’s binding becomes worse. If you’re in doubt, call. We answer 24/7, and dispatch runs from 7am to 7pm, Sunday through Friday, closed Saturday. For a door that fails on a Saturday, call and we’ll book you for Sunday.
Diagnosing Before You Decide
The fastest way to decide whether to DIY or call is to figure out what’s actually wrong. Diagnosis is a free step you can do without tools, and it prevents the two worst outcomes: touching a spring when the real problem was the opener, or replacing a part that wasn’t the issue.
Work through these questions in order:
- Does the door move by hand? Disengage the opener (usually the red pull handle) and try the door. If it lifts with reasonable effort and stays put when you let go, the balance is fine and the problem is likely the opener.
- What does the opener do? Nothing at all means power or a bad unit. Motor runs but door doesn’t move means a stripped gear or a broken spring. Door moves partway and reverses means a sensor or travel limit issue.
- Is there a visible break? A gap in the spring, a cable hanging loose, or a bent track is a clear sign to stop and call. Visible damage to springs or cables is always a red-light situation.
- What changed recently? A new loud noise, a door that started reversing, or a remote that quit all point to different causes. Noting them helps a technician diagnose right the first time.
If diagnosis points to the opener alone, that’s a separate job from the door. Our garage door opener repair covers the motor, the drive system, the sensors, and the smart-drive parts, and it’s fine to combine it with door repair when both need attention.
Common Mistakes to Avoid
- Trying to “help” a broken spring. A broken torsion spring is under stored tension even after it fails. Don’t pull, push, or attempt to prop the door. Call a technician and leave the door closed.
- Forcing the opener after a break. If the door won’t lift, running the opener wears out the drive gear and can damage the opener beyond repair. Stop using the opener and get the door looked at.
- Using oil instead of door lubricant. Household oil picks up grit, and grit abrades rollers and hinges. A garage-door lubricant is the right product for the moving parts.
- Assuming the first loud noise is the spring. A snap, a grind, or a rattle can each come from the opener, the tracks, or the hardware. Misdiagnosing leads homeowners to replace the wrong part.
- Working overhead alone. Anything on a ladder overhead in a garage needs a second person present. In an unheated South Bend garage, cold makes the risk higher, not lower.
- Skipping the manual for a new opener. Each brand sets travel limits and force settings differently. A Wayne Dalton or Craftsman opener won’t follow another brand’s instructions, and a wrongly tuned opener strains the door.
- Buying a spring by photo. Matching a spring takes the door’s weight and height, not a picture of the old part. A wrong spring either can’t hold the door or overloads the system and the opener.
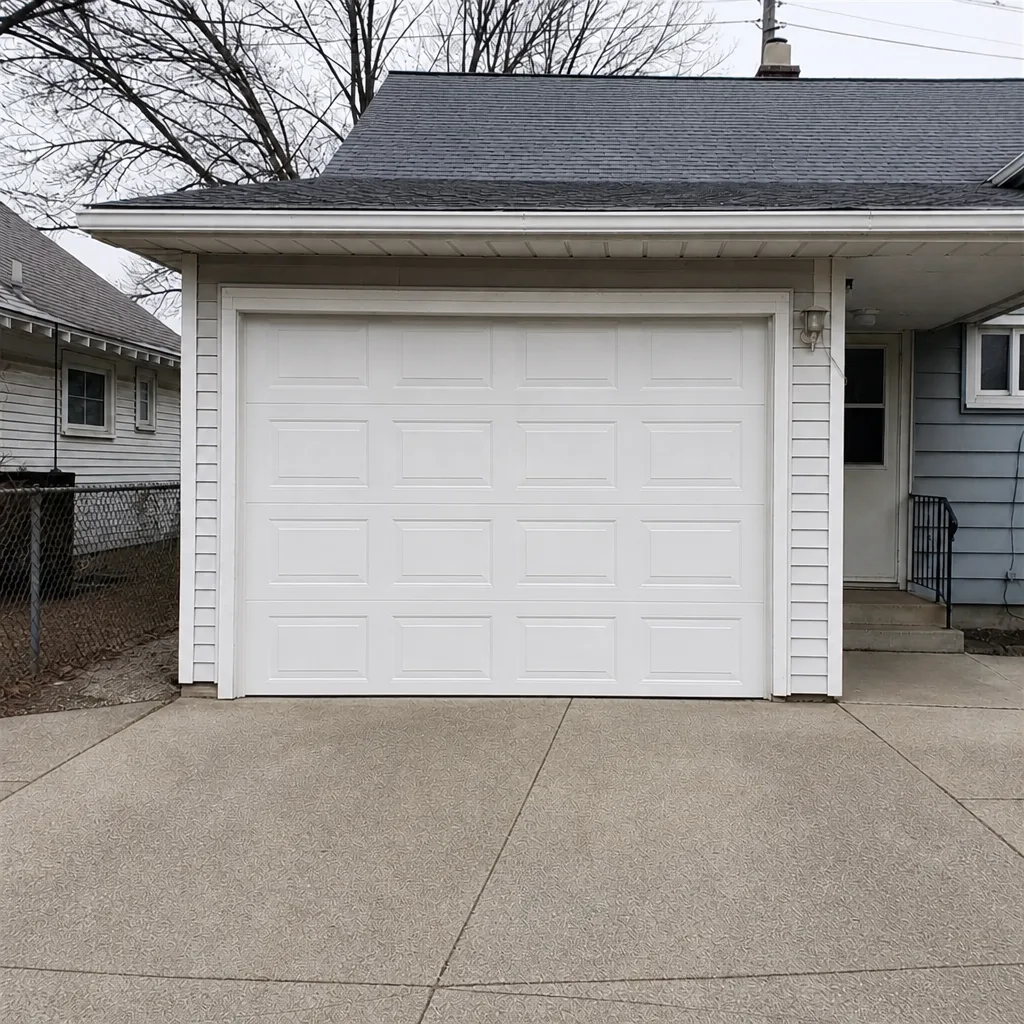
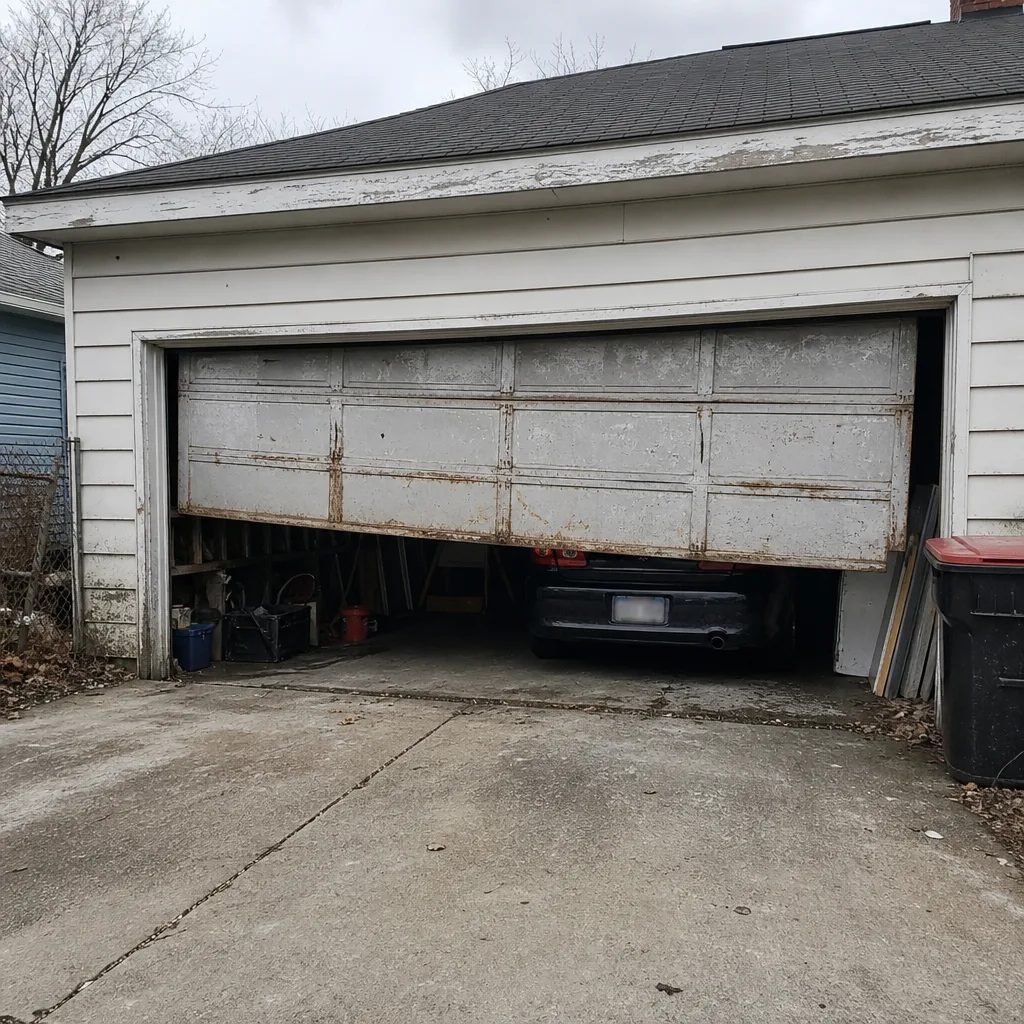
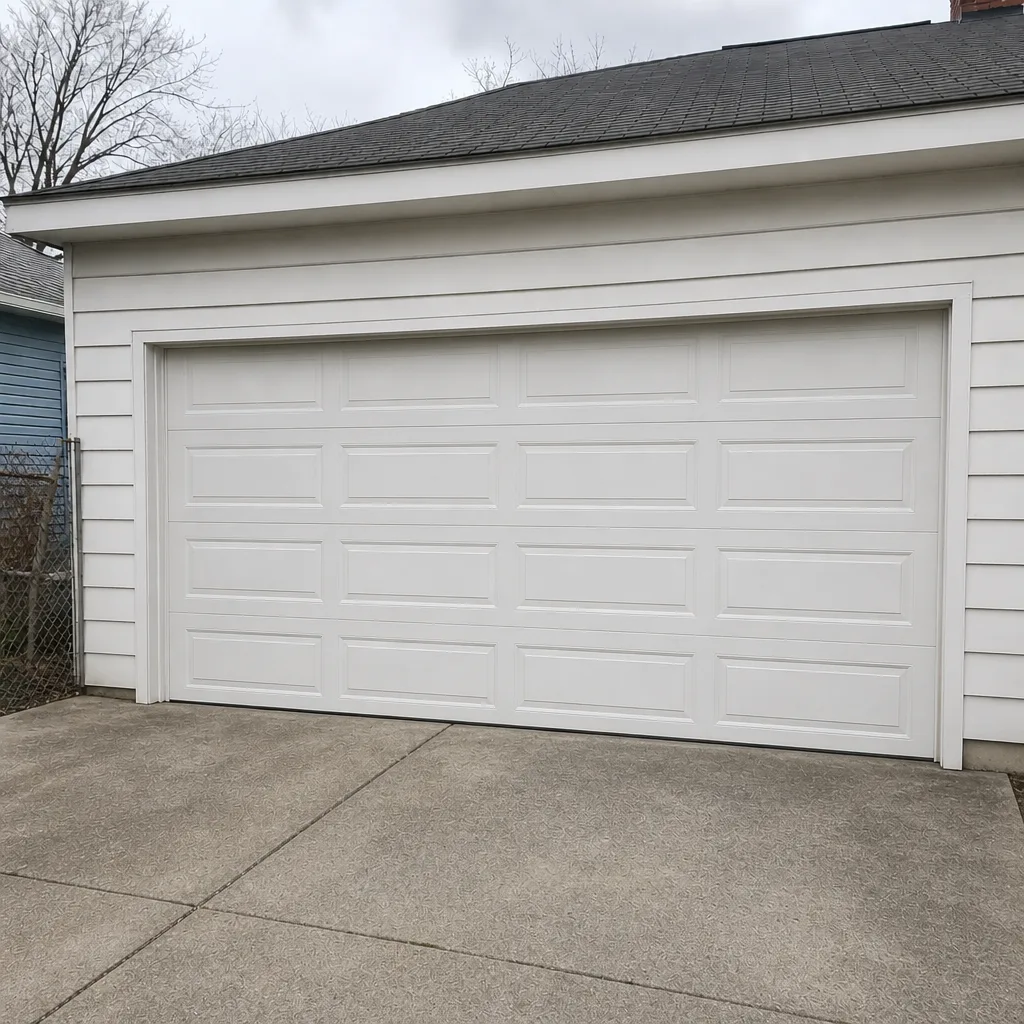
See the difference
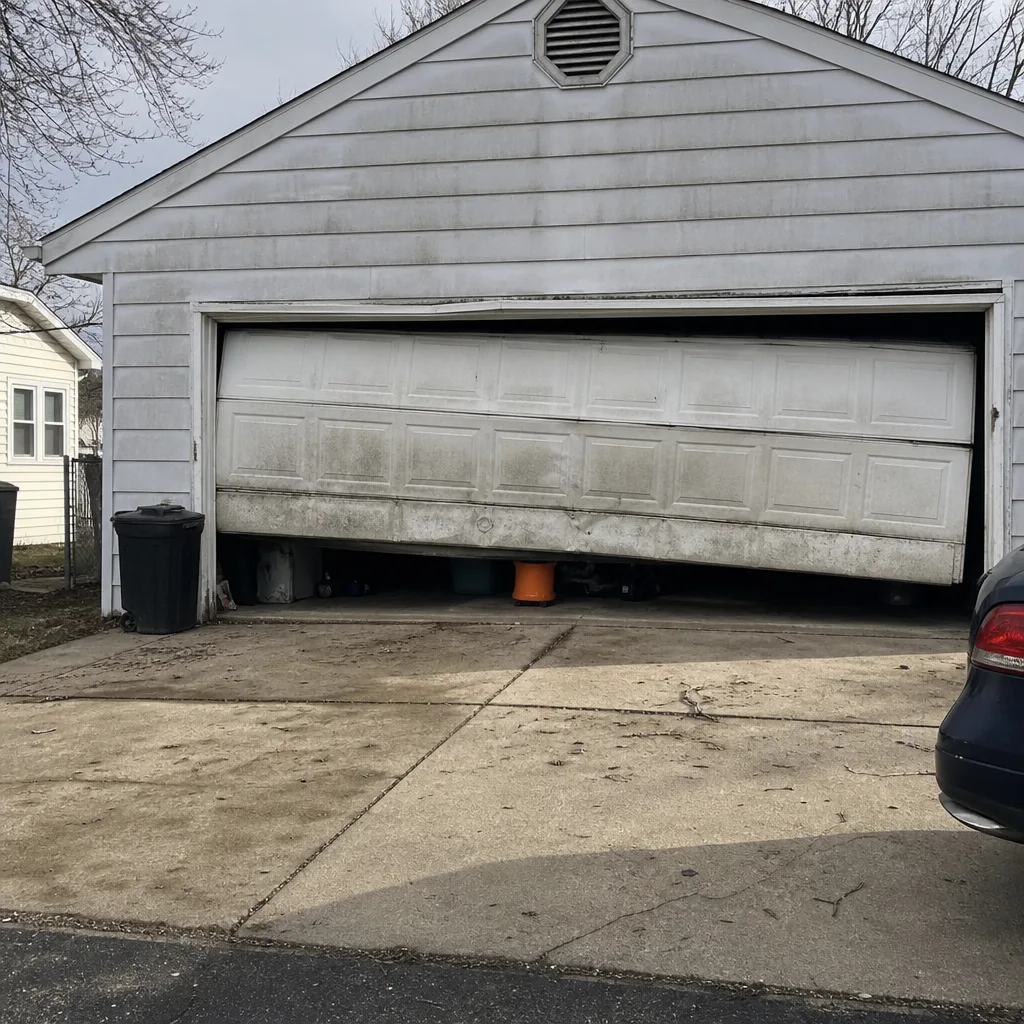 Before
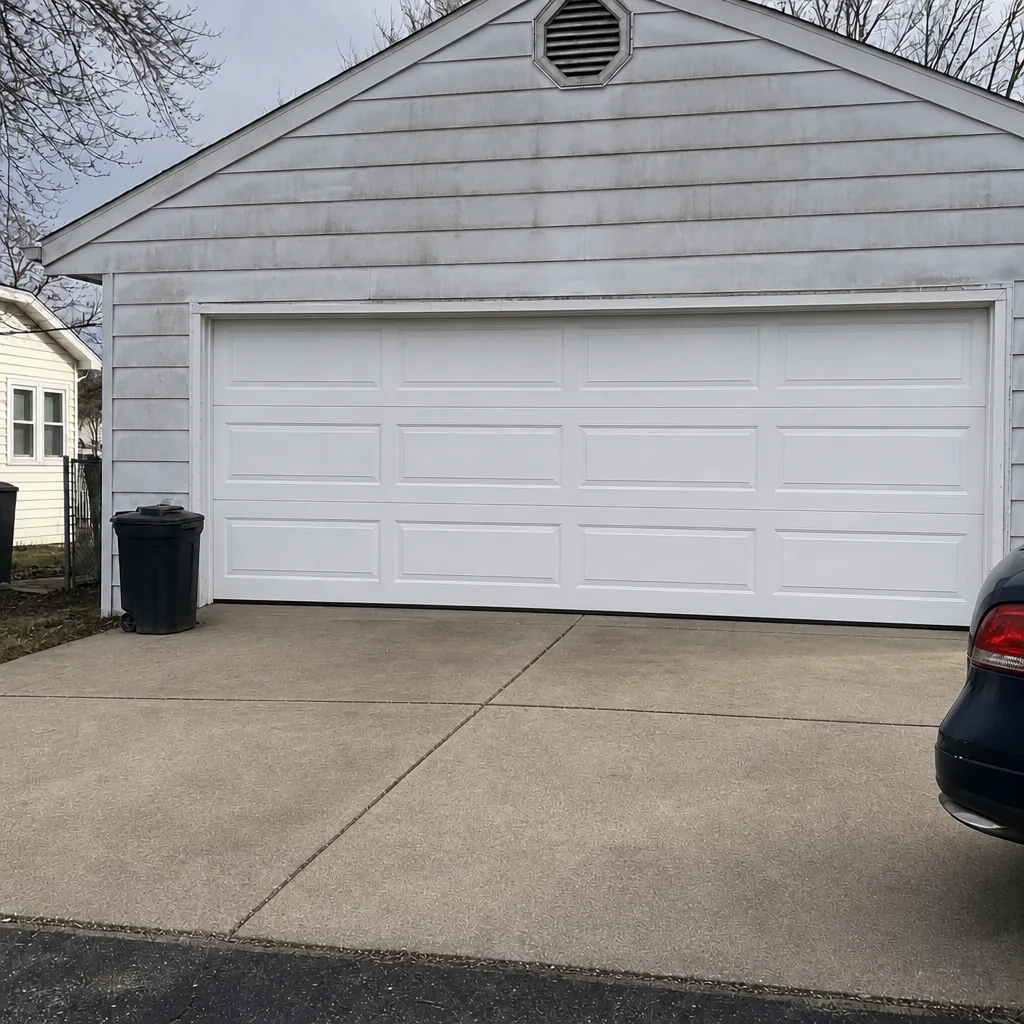 After
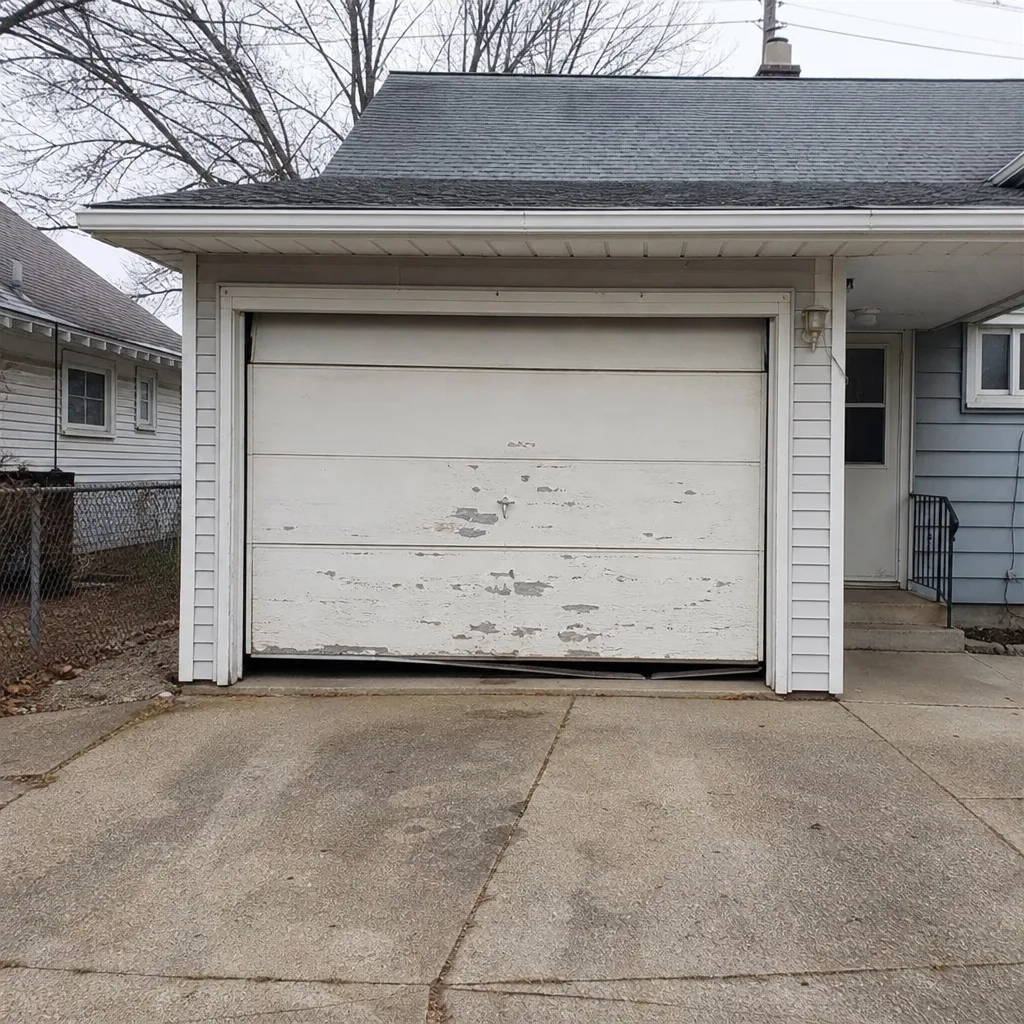 Before
 After
 Before
 After
When to Call a Professional
Call a technician for any spring, cable, or track work, and for anything where the door is stuck partway, hanging unevenly, or refusing to move at all. Call if the opener runs without moving the door, if you see a visible gap in a spring, or if a cable looks slack or frayed. Call if a repair you started has turned into a job that needs a part you can’t identify, or if the door has started reversing on its own and you can’t track down the sensor alignment. In South Bend’s seasons, call before the cold turns a minor binding into a bigger repair. Harmon Garage Door Repair offers free estimates in South Bend, and our technicians have up to 15 years of experience working on the brands you already own. Call (844) 834-4569. We answer 24/7. Fast dispatch from 7am to 7pm, Sunday through Friday.
Frequently Asked Questions
No, garage door springs should be replaced by a trained technician because they store enough energy to cause serious injury or death when released improperly. The winding count is specific to your door’s size and weight, and guessing is where people get hurt. The safer choice is to keep the door closed and call for a repair. Call (844) 834-4569 for an exact quote on spring replacement, and the estimate is free.
Hiring a professional is usually cheaper once you count the time, tools, and the risk of a misaligned opener straining the door’s springs or cables. A first-time install can take a full day or more, and a slight alignment error can turn into a repair that needs a technician anyway. A free measure and written price for Harmon Garage Door Repair installation tells you the true number to compare against before you start. Call (844) 834-4569 to book the estimate.
No, the price is quoted and agreed before any work starts, so the written estimate is the number you pay. If we find something during the repair that changes the job, we talk to you before doing it. Your written estimate sets the final price. Call (844) 834-4569 to schedule your free estimate.
Yes, our technicians are licensed and insured, and they work on the leading brands including LiftMaster, Chamberlain, Genie, Clopay, Amarr, Wayne Dalton, Craftsman, and Raynor. That brand breadth matters in South Bend, because it means fewer “we don’t work on that” dead ends when you need a part matched to your door. Call (844) 834-4569 for an exact quote, and the estimate is free.
Yes, we can often get out the same day for repair calls in South Bend, and dispatch runs from 7am to 7pm, Sunday through Friday, closed Saturday. A call outside dispatch hours is booked into the next opening. Keep the door as still as you can and don’t force the opener. Call (844) 834-4569 to start the dispatch.
Lubrication, sensor alignment, remote programming, weather-seal replacement, and testing the door’s balance are all safe for most homeowners, and they’re the jobs worth doing yourself. Spring, cable, and track work is where the line is, and South Bend’s cold winters make that work riskier, not easier. If you’re unsure which side a task falls on, call (844) 834-4569 and we’ll tell you honestly.
The Bottom Line
The DIY vs. professional question for garage doors comes down to task type, not confidence. Lubrication, sensor alignment, remote programming, and weather seals are safe and worth doing yourself. Springs, cables, and tracks hold stored energy and the door’s full weight, and those are jobs for trained technicians. South Bend’s winters only make the red-light tasks harder, and a free estimate removes the guesswork before you decide. We work on the brand you already have, and our work is garage doors only. If you’re unsure, call.
Written by the team at Harmon Garage Door Repair. Serving South Bend and the surrounding area with South Bend garage door repair, opener repair, and installation – backed by factory familiarity with the brands you already own and a personal name on every job. Call (844) 834-4569 for a free estimate. We answer 24/7. Fast dispatch from 7am to 7pm, Sunday through Friday.